This is a quick post to show the work that goes on behind the scenes to refurbish even the most insignificant of museum items.
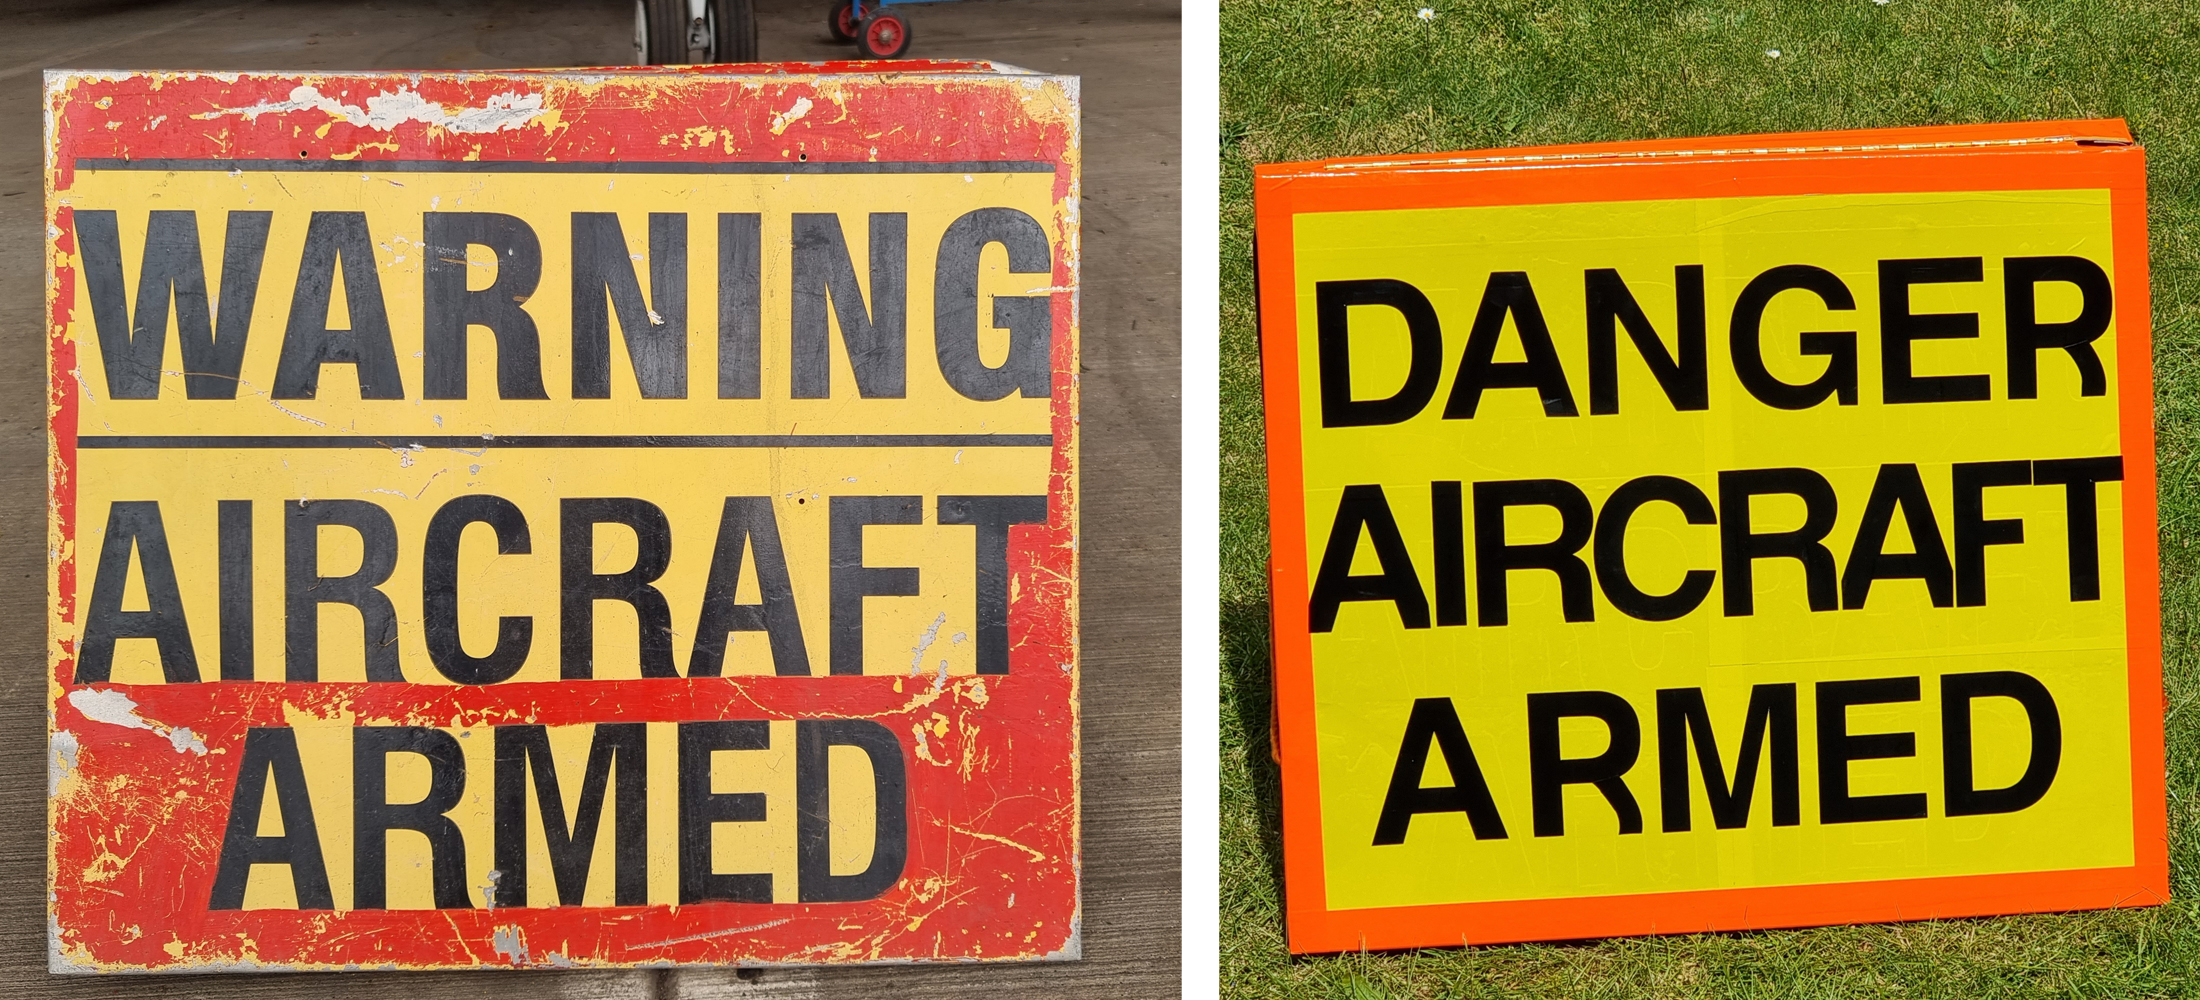
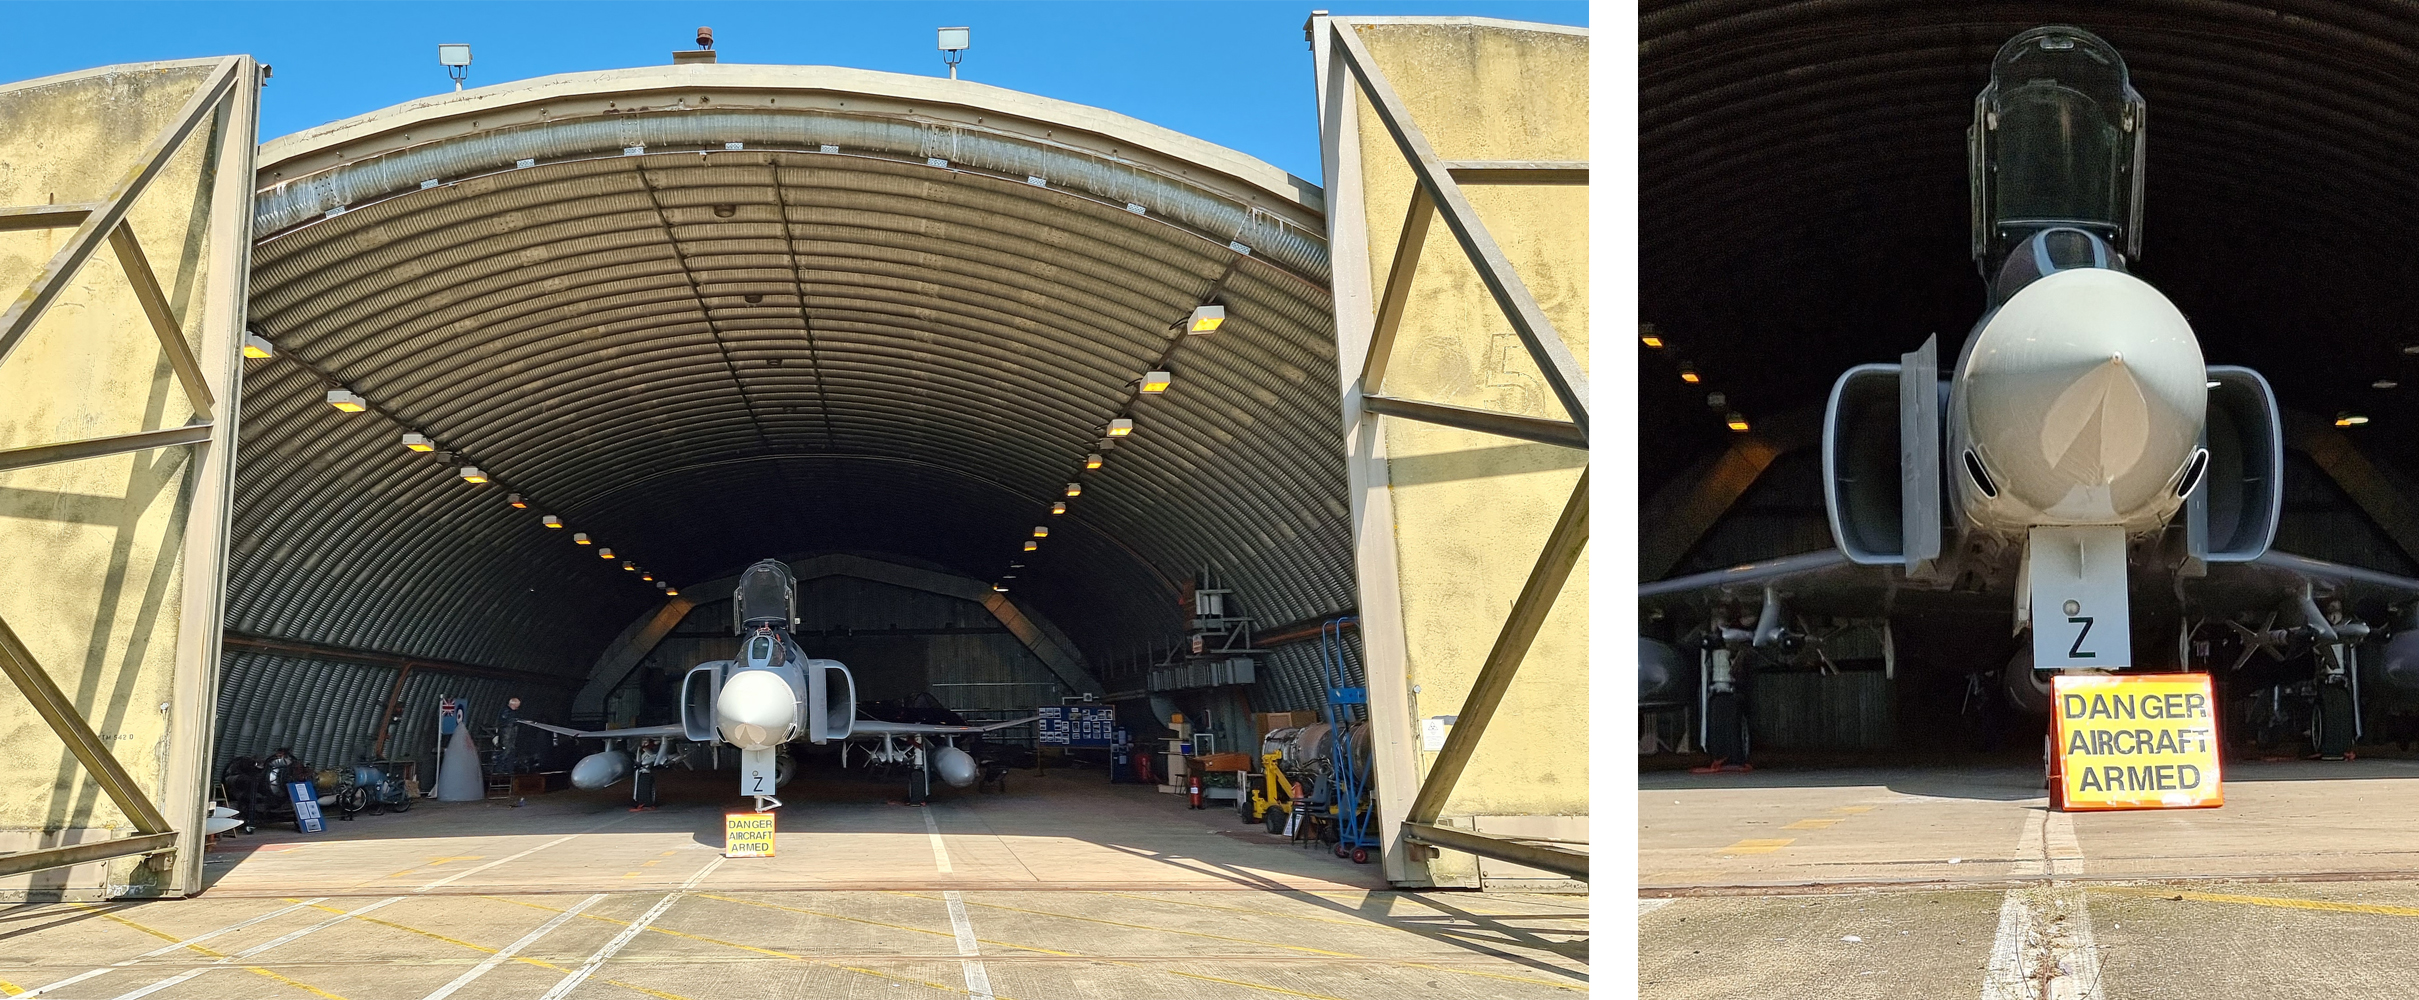
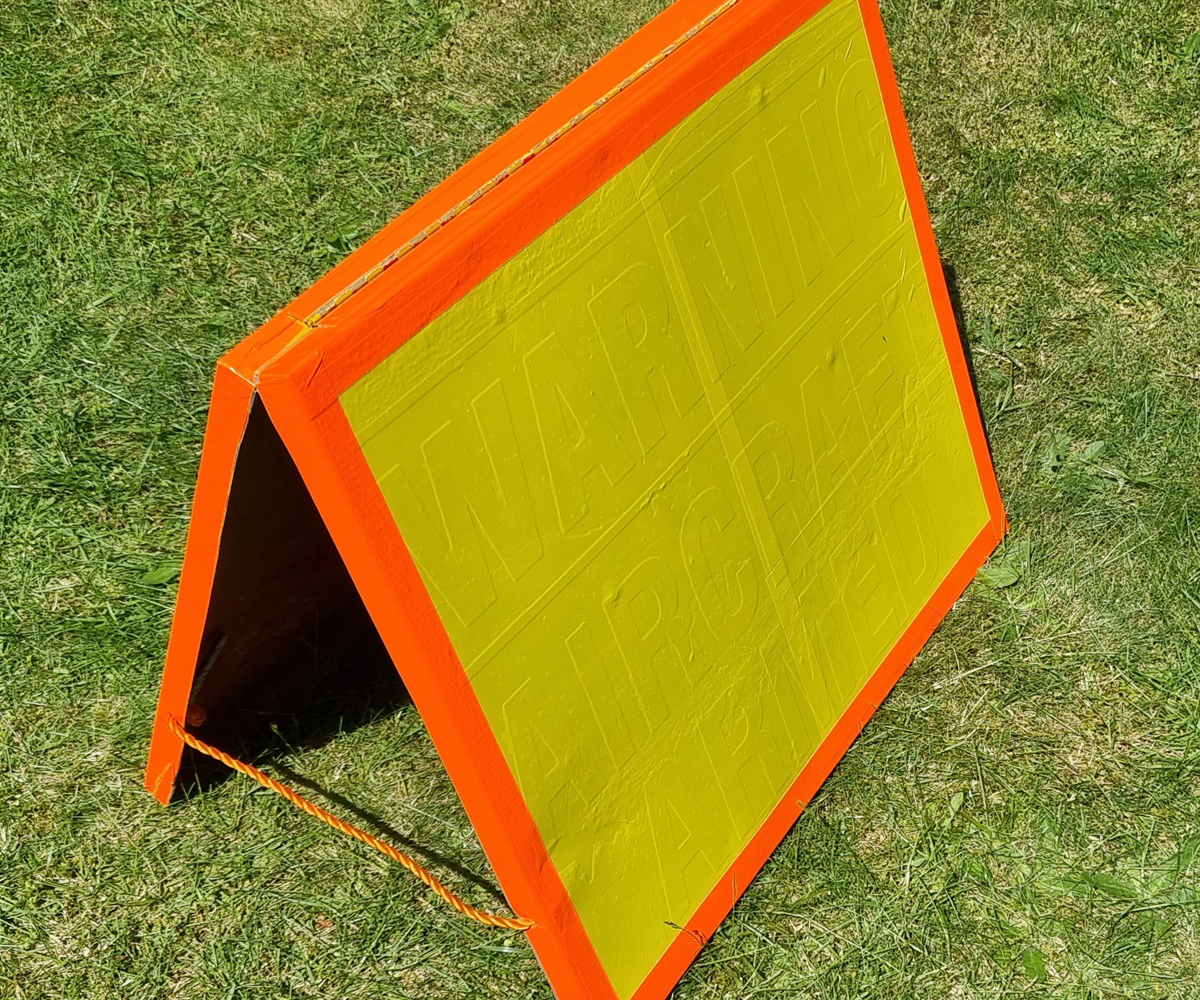
The Aircraft Armed sign that sits in front of the Phantom inside the Museum HAS was looking a bit bashed and tattered, and also was not of the correct colouring and lettering.
Current wording:
WARNING
AIRCRAFT
ARMED
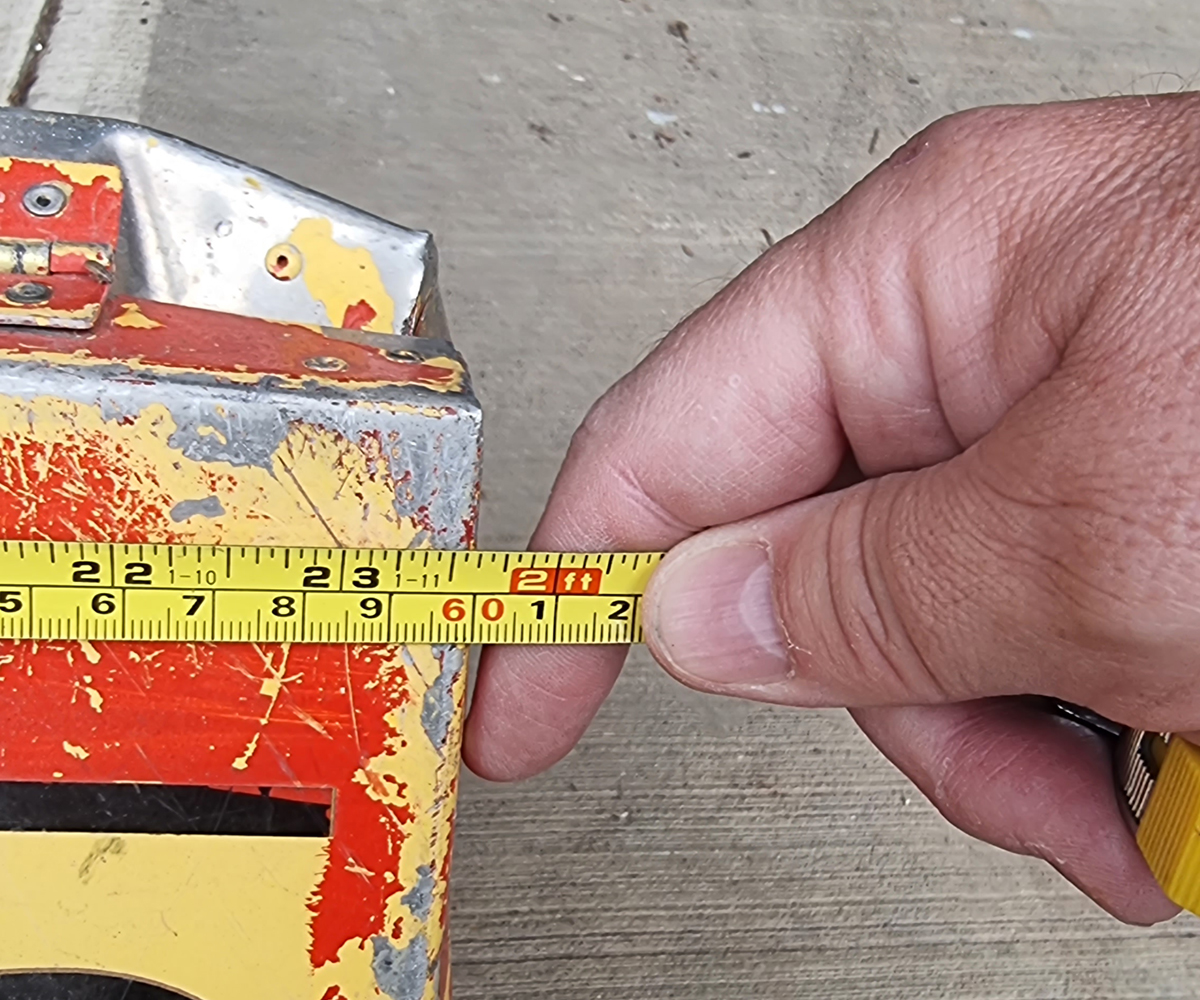
Dimensions of the existing sign.
Width: 60 cm (23.7 inches)
Height: 52 cm (20.5 inches)
Depth (each half): 2.5 cm (1 inch)
Lettering height: 10.75 cm (4.25 inches)
Lettering width: 7.5 cm (3 inches)
Alternative wording 1:
AIRCRAFT
ARMED
DANGER
Alternative wording 2:
DANGER
AIRCRAFT
ARMED
The alternative wording 2 above was DEFINITELY used at Wattisham in the QRA shelter, so was chosen to be the option for our refurbished sign.
Basic Project Requirements.
Metal bash the existing sign to flatten out the dents.
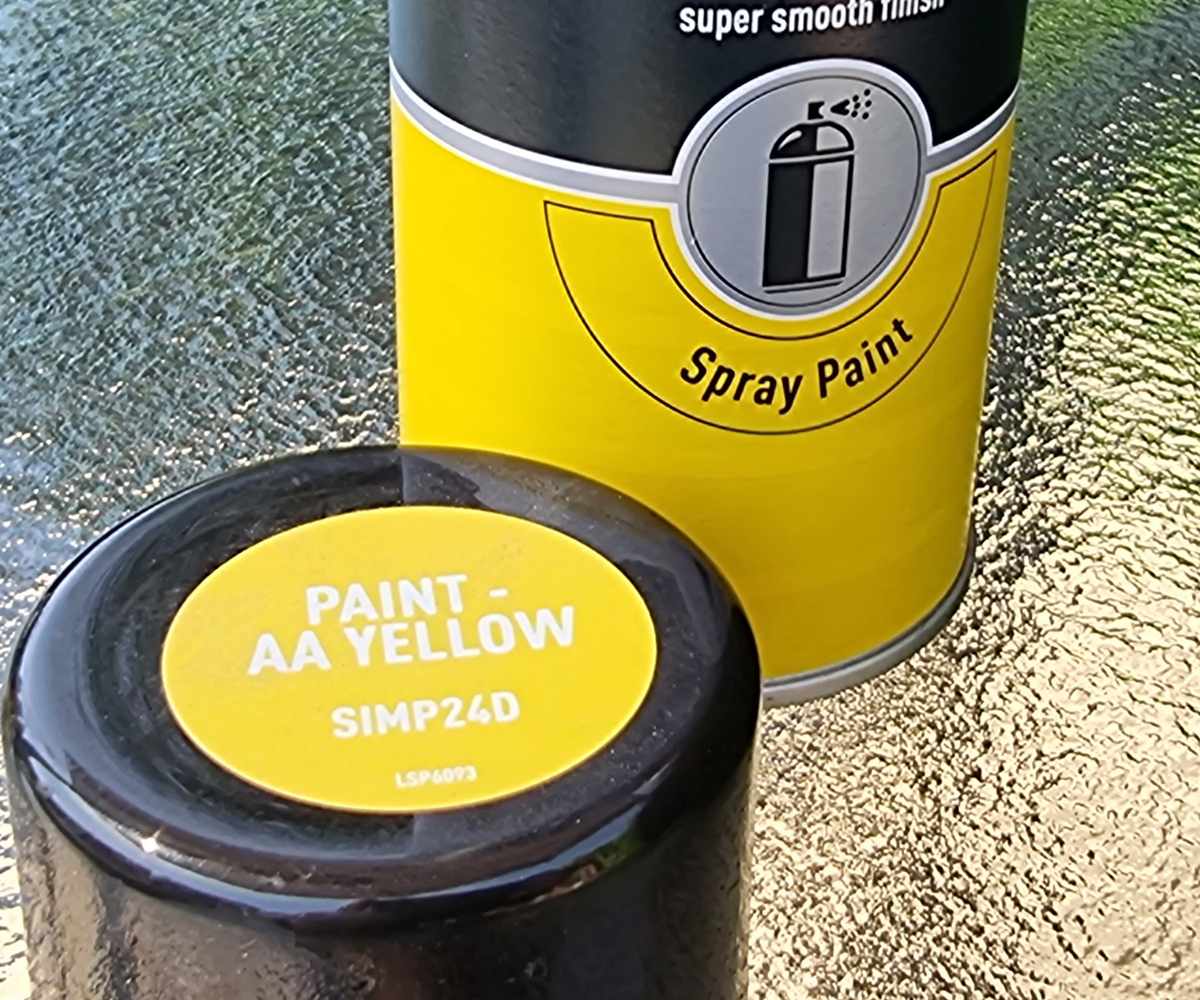
Cover the existing sign in Yellow reflective dayglo.
Edge the existing sign in orange dayglo.
Add the lettering.
Repair the latch.
Area of dayglo needed
Yellow. 2 off, 60 x 52 cm
Orange strip. 9m x 1 inch
Black lettering, for both sides, no larger than 4 x 3 inch letters
The job.
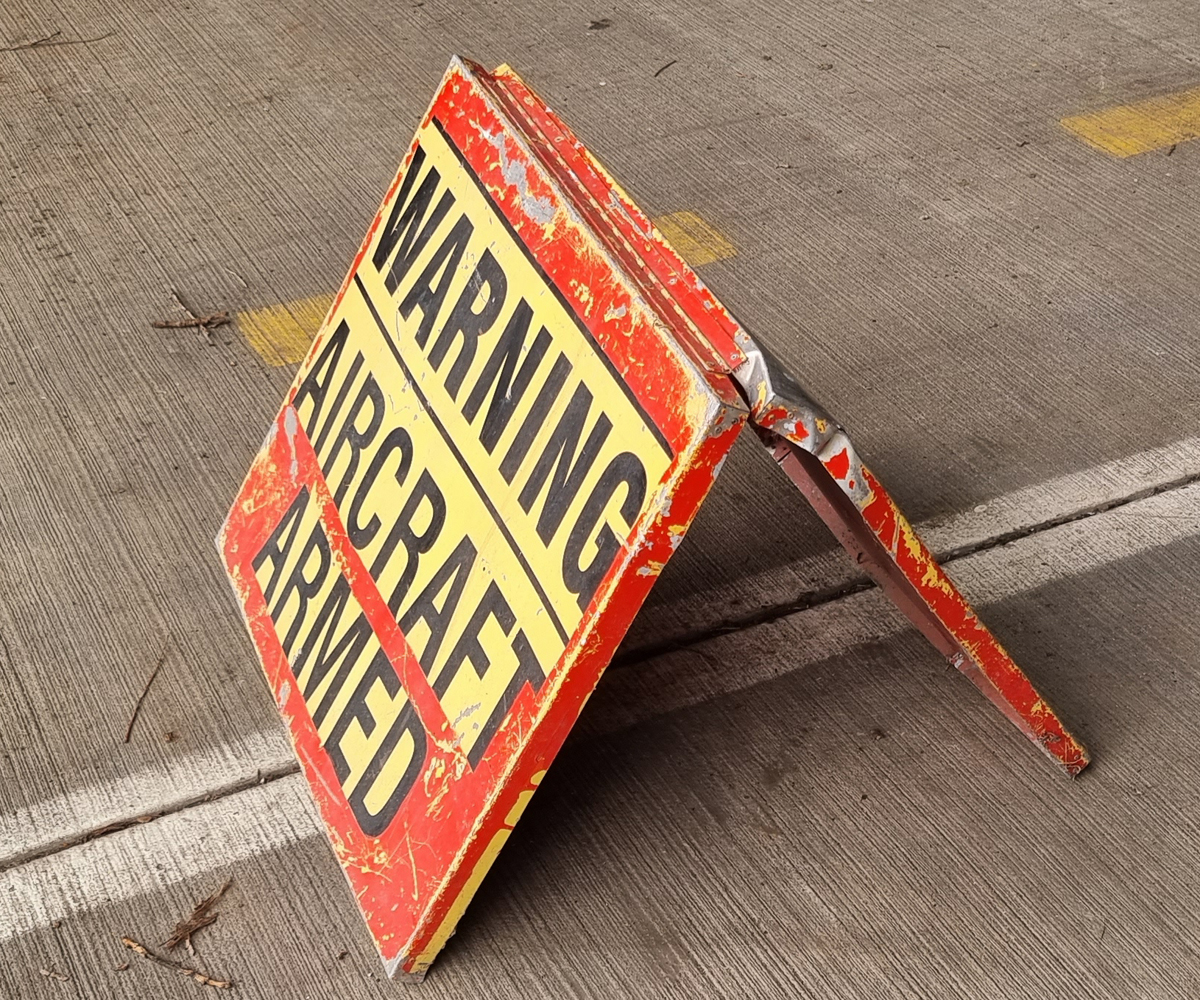
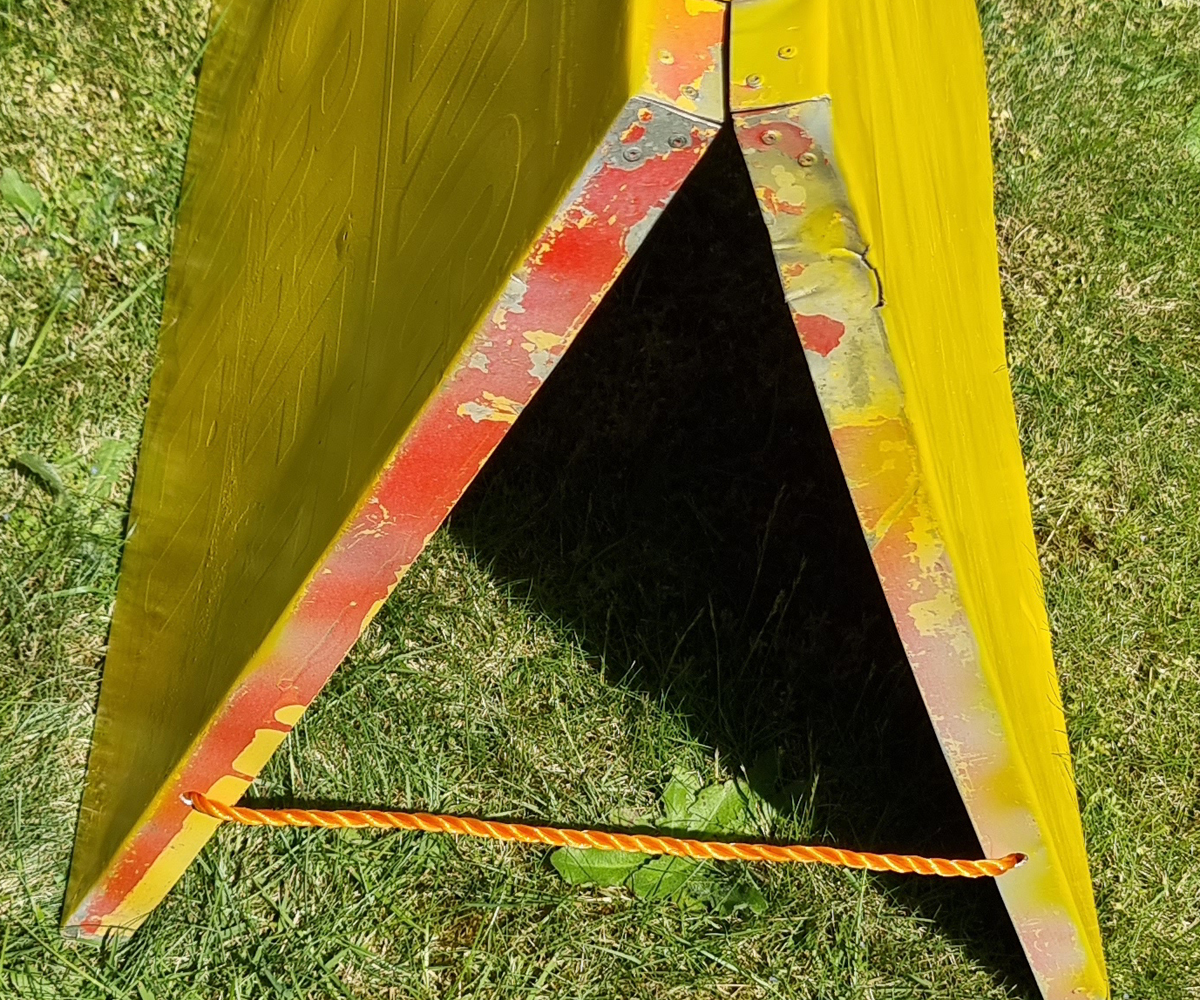
Firstly the old broken “stay” was removed, as it had a dangerous sharp broken edge. A replacement solution will need to be found or fabricated later.
The initial work comprised bending back into shape the really bent corners and bashed parts of the sign. Once done, this allowed us to see if the sign would stand reasonably square on its own accord. After a bit more fettling, the sign seemed reasonably robust, at least within my modest capabilities.
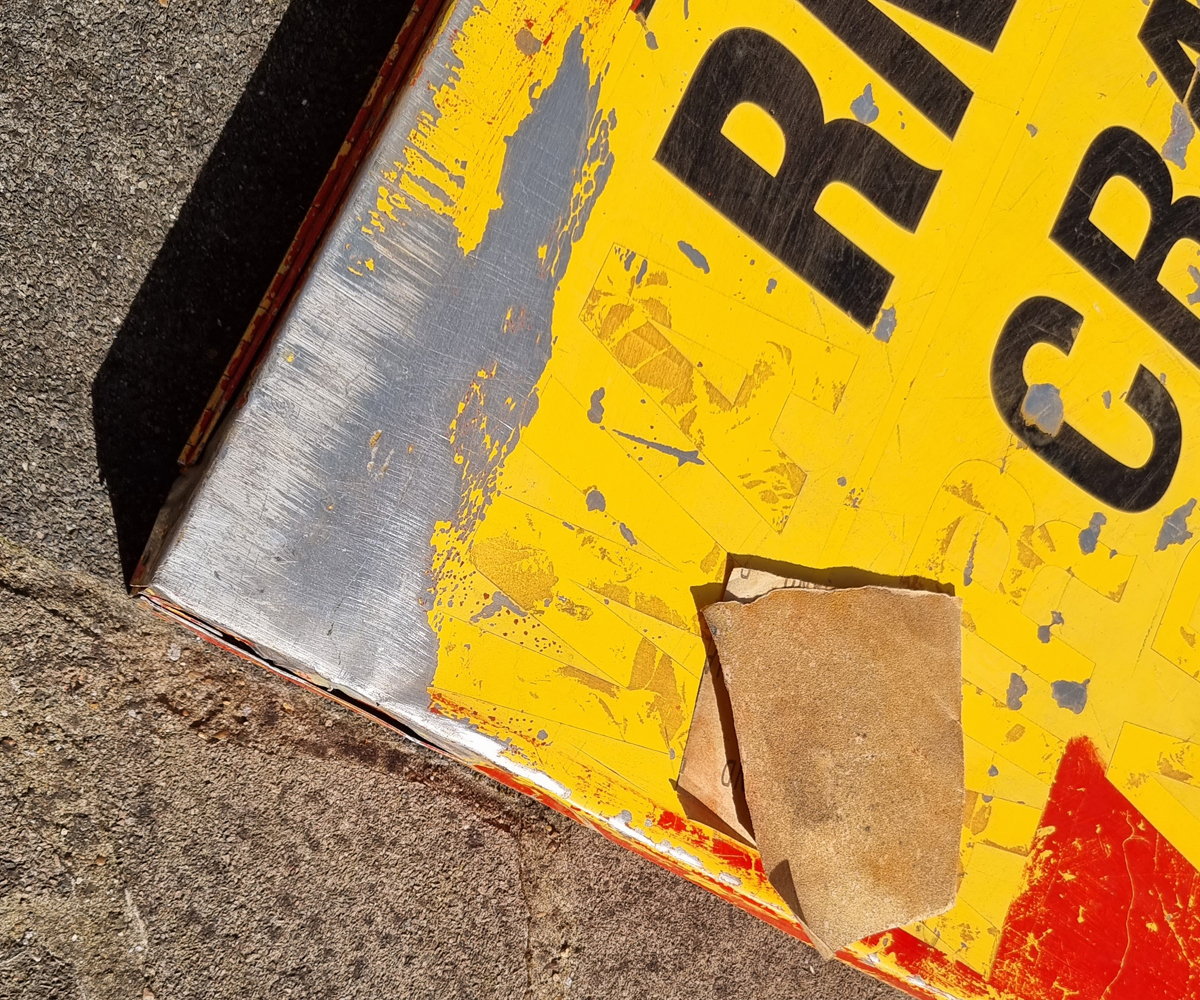
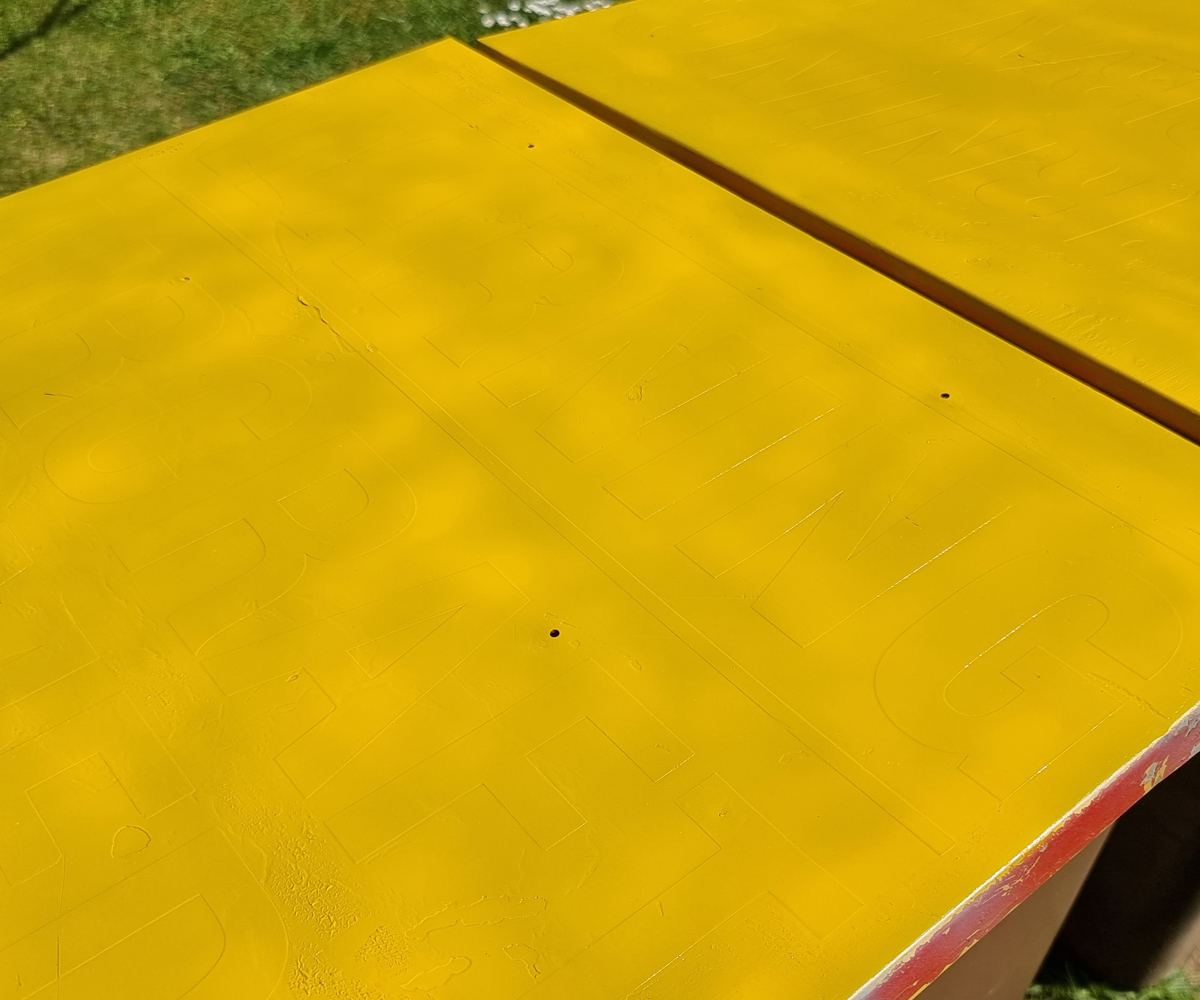
The next stage involved checking the surface finish, to see if anything could be salvaged, or would it all need to be refurbished? Too much of the signage was peeling, and a lot of the surface was flaking, and it was determined that just a partial refurbishment would look a little incomplete. So, a complete refurbishment of the background paintwork and lettering was what was needed.
With this in mind, removal of the worst of the lettering took place, followed by a vigorous sanding down of the whole surface. This sanding down was to remove any remaining flaky paint, as well as provide a key for the new primer to take to.
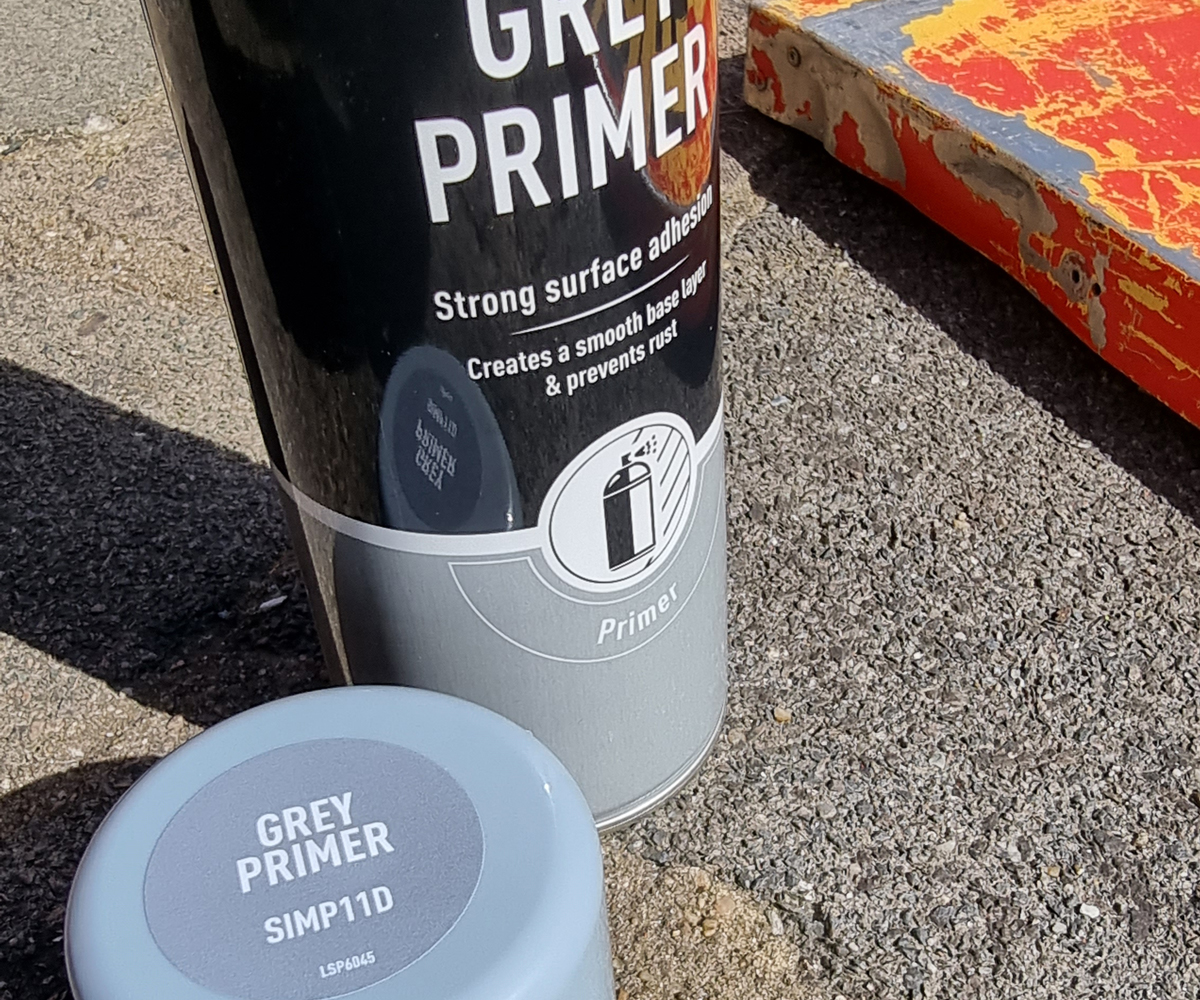
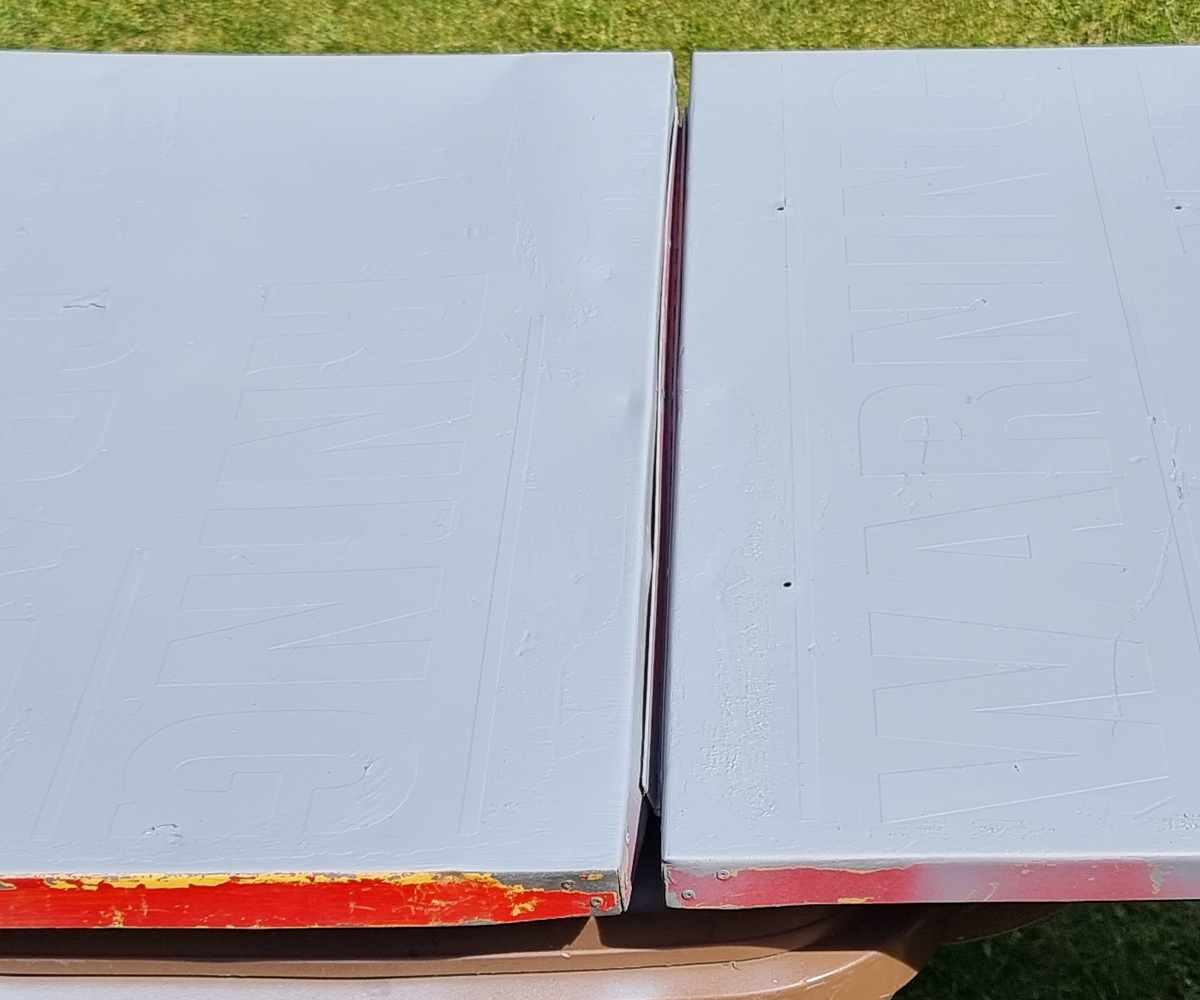
A couple of coats of grey primer were used, which gave a nice smooth finish and allowed any remaining surface blemishes to be easily seen and rectified.
Once the surface repairs were made, a couple of coats of yellow were applied. This is just to provide a base coat colour really, so that the final vinyl covering will have a solid colour underneath it. It didn’t need to be an especially fantastic finish (which was just as well considering the ability of the painter), as the final surface of bright yellow vinyl will be what is seen.
Once the yellow paint coats had dried, it was decided to tackle the “stays”, in case any damage was made during the process, the final covering would not be affected. There were already some existing rivet holes in the frame edge where the previous broken stay had been attached. Using these holes meant that we would cause less structural weakness by adding new ones. We opted for dayglo orange rope fitted into BOTH sides of the sign, giving some additional sturdiness compared to the previous SINGLE metal stay.

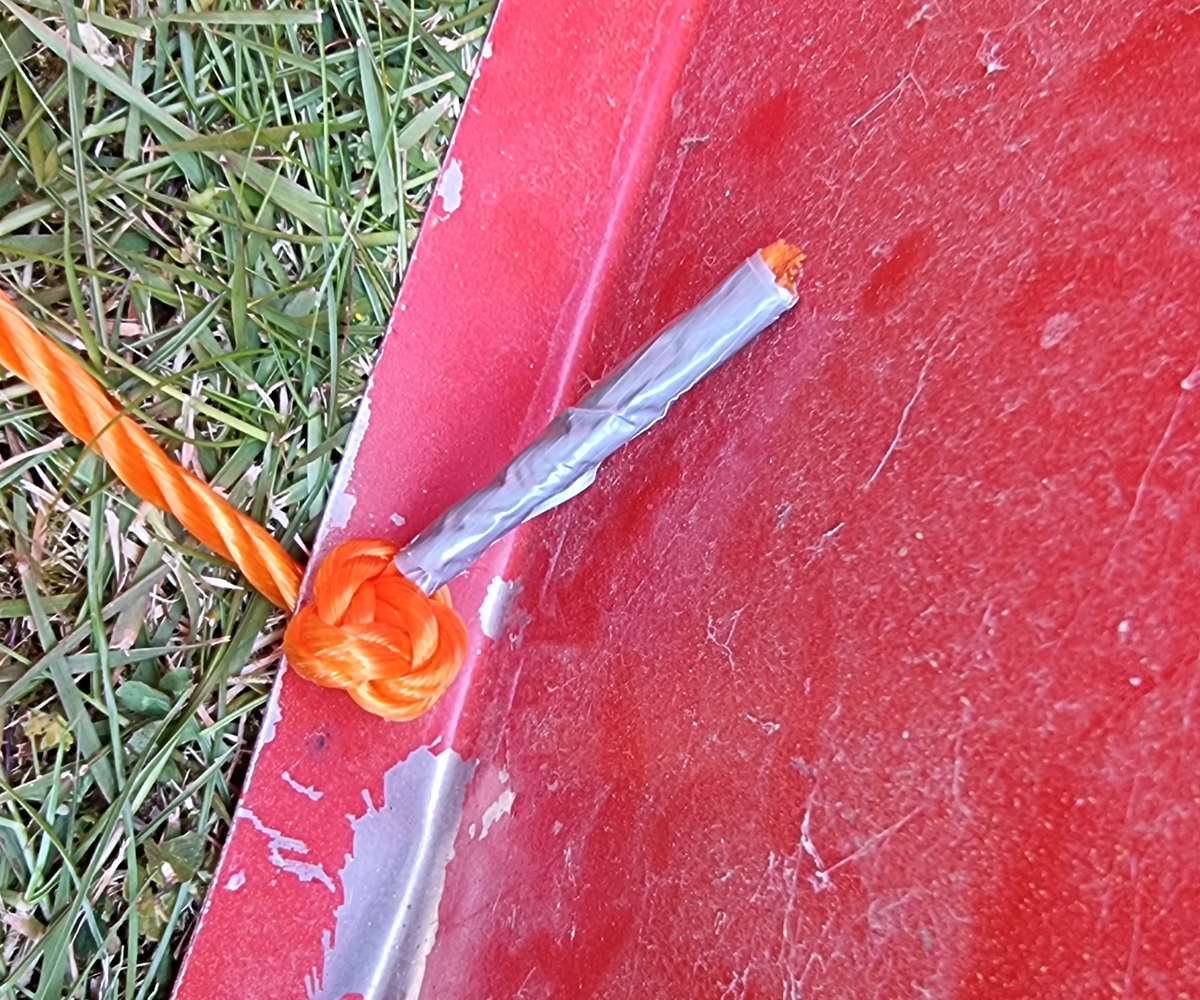
The existing holes were widened, and matching holes were drilled in the opposite side of the sign to match. These holes were all then filed a bit smoother, to limit chafing of the ropes when in use. The ropes were pushed through the holes, then knotted behind the holes and the ends tidied with duct tape. This may not be the most accurate fix, but it looks and works fine for our purposes.

The next stage was to apply the bright yellow vinyl covering. This was cut to sections and slowly rolled onto the sign to limit the number of bubbles. Once satisfied with the main background blocks on both sides of the sign, it was time to apply the edging, which was dayglo orange duct tape. This also secured the edges of the yellow vinyl, giving a good sharp edge to the yellow/orange divide.
The bright yellow vinyl and dayglo orange duct tape are certainly vivid enough, and they give the sign a very crisp and clean look.
Finally, the lettering needs to be added. This needs to be in black capitals, and correctly centrally spaced both vertically and horizontally.
DANGER
AIRCRAFT
ARMED
So, measure and mark out the vertical and horizontal centrelines of the sign, and then add in the correct height guidelines for the lettering to ensure accurate placement.
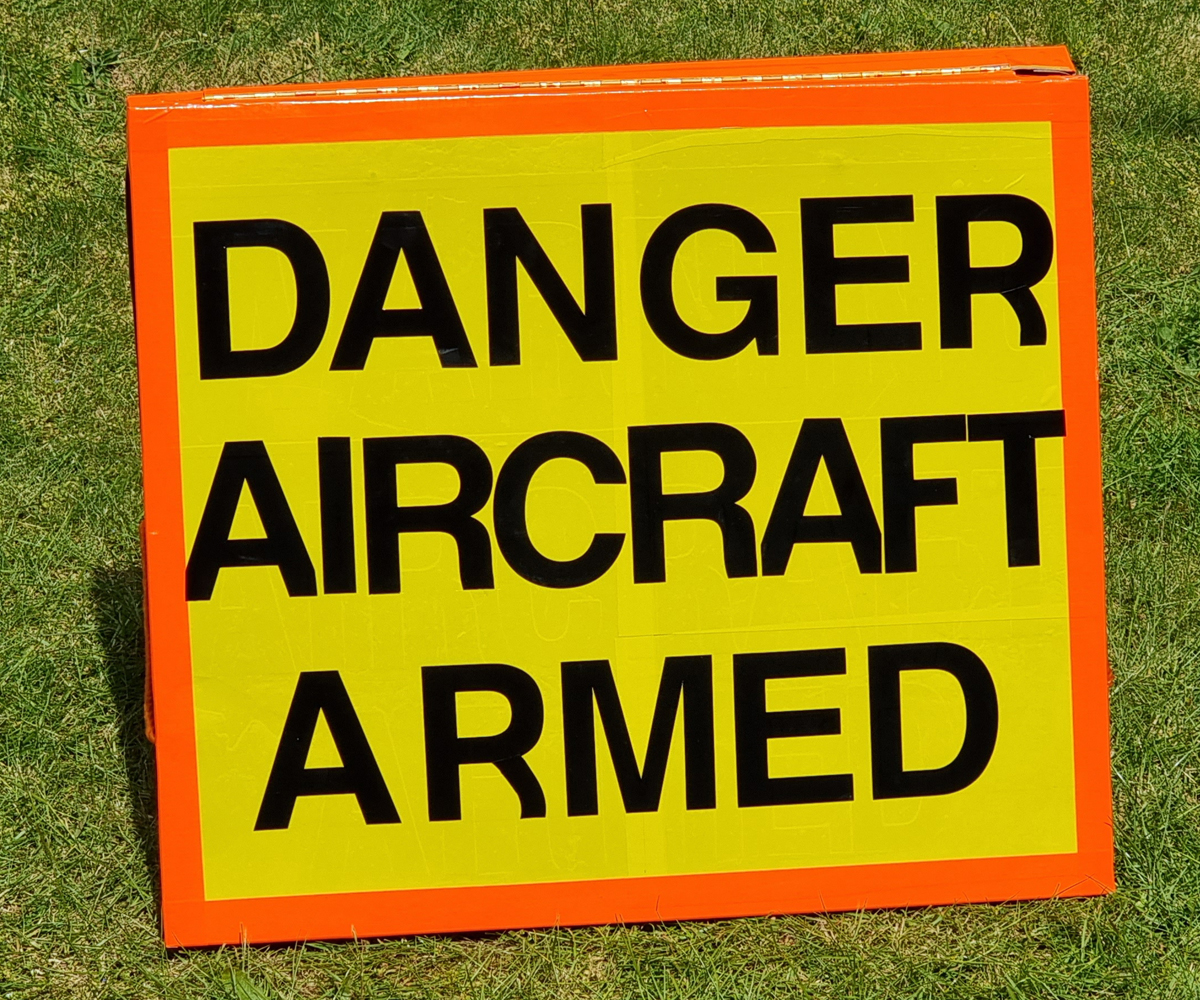
Applying the BLACK CAPITALISED vinyl lettering should make a very vivid contrast to the bright yellow and dayglo orange background, exactly what is needed for this type of sign.